


Farmhouse Signs
Want to express yourself in a stylish and decorative manner? Consider creating and designing your own farmhouse sign.
By the time you're done reading this DIY guide, you will know exactly what you need to do to build a high-quality, long-lasting, and visually-expressive sign for your farmhouse.
What are farmhouse signs?
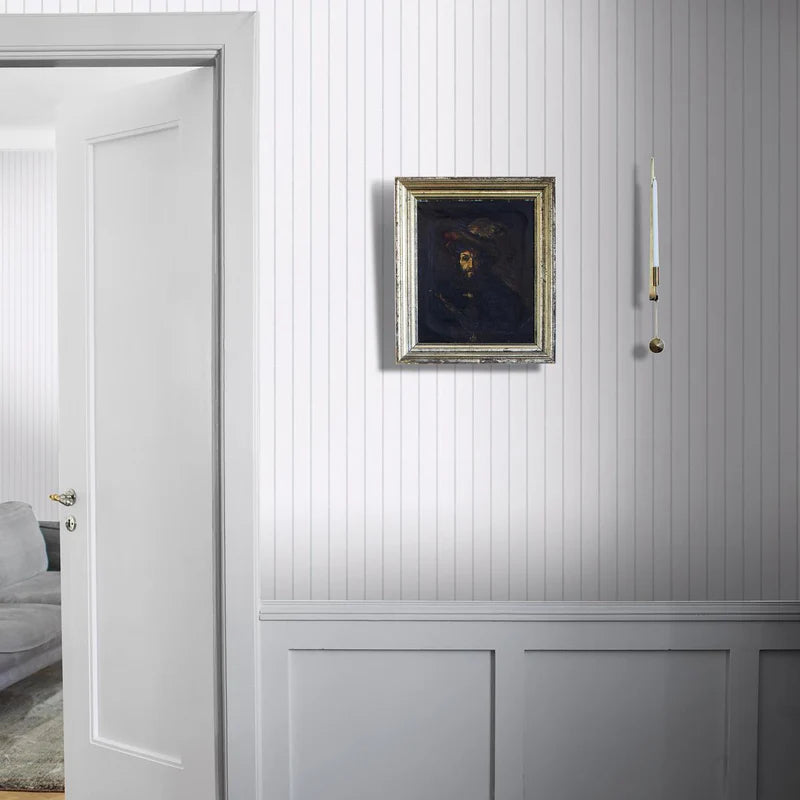
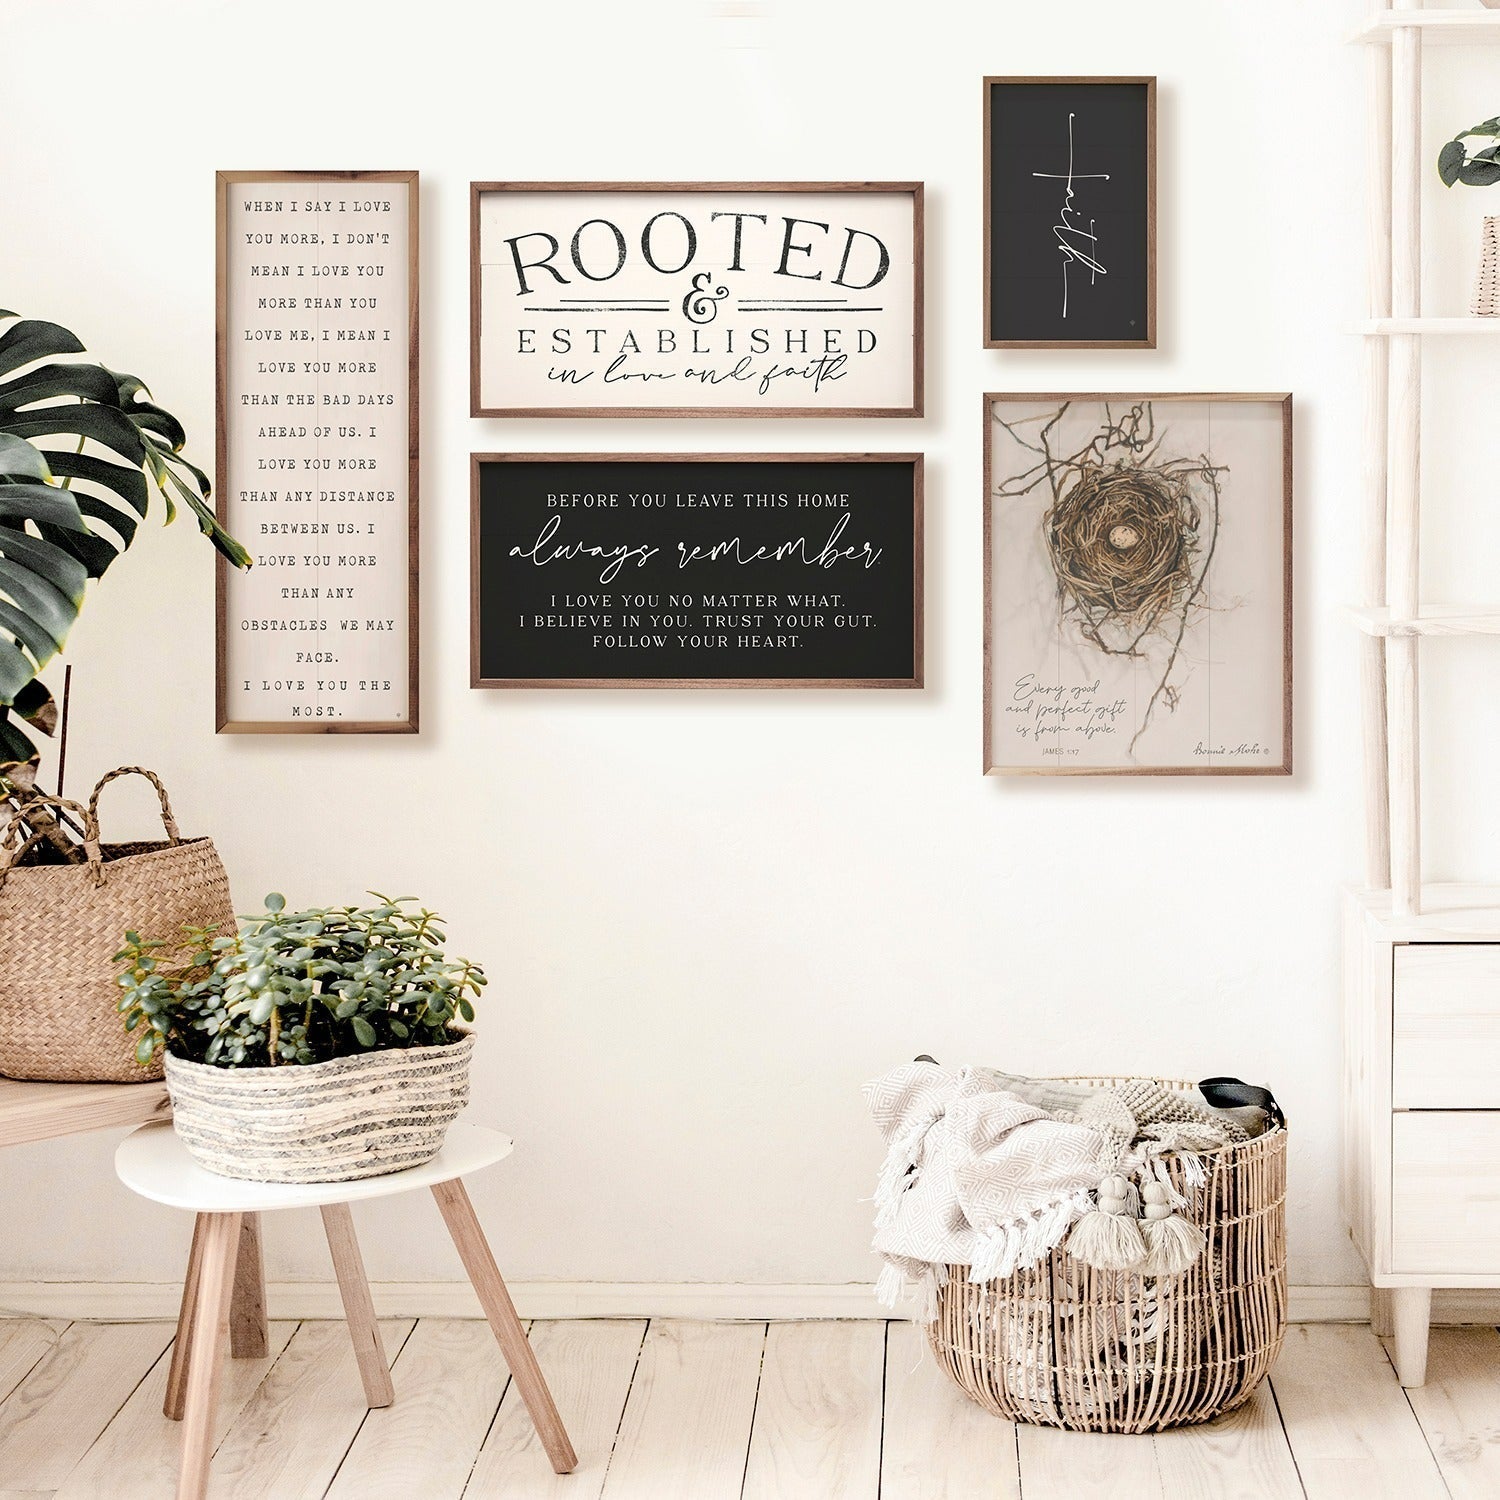
In short, a farmhouse sign is a framed quote. People usually hang them to decorate their home.
Based on your preferences, you can pick a farmhouse sign that has any type of quote. For example, the quote could be inspirational, welcoming, philosophical, religious, or even humorous.
Farmhouse signs tend to have a wooden frame (but some come with metal). Both the quote and the frame may be easily created at home.
How to Make a DIY Farmhouse Wood Sign
Before you start building your sign, you want to initially gather the supplies that you will need.
Supplies
You should assemble the following supplies for your DIY farmhouse wood sign:
- Plywood: Aim for a plywood board with 30.25 x 26-inch dimensions. Pick a board that's at least half-an-inch thick so that you can draw and/or paint on it.
- Furring Strips: You want furring strips that are 8-feet long, 1.5-inches wide, and 0.75-inches deep. To clarify, furring strips are installed on each of the plywood board's edges in a frame-like manner. They level out the board's surface, which makes it easy for you to draw or paint.
- Wood Stain: Wood stain preserves the quality of your board and strips while and after you paint them, and they prolong the lifespan of your farmhouse sign.
- Chalk Paint: In comparison to other types of paint, applying chalk is relatively straightforward. You may also wipe it out when you make a mistake or decide to modify your sign.
Once you gather these supplies, you can begin to work on your DIY farmhouse sign.
Directions
In the following order, here are the steps that you should take to create your farmhouse sign:
Step 1:
Prepare the plywood board for painting through spraying it with the wood stain and allowing it to dry.
Step 2:
Cut the sign board panels based on the length, width, and depth dimensions that we highlighted above. Just as important is applying wood stain to the border panels.
Step 3:
Attach the strips to plywood to create the frame.
Step 4:
Design a draft farmhouse phrase. After that, you have three options for painting the phrase.
Step 5:
To add the design to the board, you could use a cameo or cricut machine to cut it out and move it to the sign.
Alternatively, you may also rely on either the paper transfer or carbon paper method.
The paper transfer approach entails the following steps:
- Print or draw your design on a regular printer or computer piece of paper (for example, a US Letter or A4 sheet).
- Next, flip the paper and use a pencil to scribble over where the quote's text is, but do this on the opposite side of the sheet. In other words, your design should be facing downwards while you scribble.
- Flip the sheet again and place it on the plywood board's surface. Here, you want the text to face upwards so that you can draw an outline around the quote's letters. Your pencil scribbles, which would be on the side of the sheet that's facing downwards and touching the board, are going to leave faint marks on the plywood board as you sketch the outline.
- Remove the paper and fill out the letter's outlines with black paint or a permanent marker.
On the other hand, if you prefer the carbon paper method, here is what you need to do:
- Just as with the paper transfer approach, print or draw your design on a standard printer/computer piece of paper.
- Put a sheet of carbon paper on the plywood surface. You want the shiny side to be facing downwards.
- Place your printed design on the carbon paper, with the drawing or text facing upwards. Apply pressure and press on the paper while you trace the outline of the quote's letters to ensure that your design leaves markings on the board.
- Take out the paper and color the outlines with paint or a marker.
Keep in mind that your sign will be done and fully drawn once you complete the final step of the alternative method that you choose (paper transfer or carbon paper).
In the meantime, if you followed the initial approach, you still have one more step to complete.
Step 6:
After cutting out the design with a cameo or cricut machine, you want to get rid of any excess vinyl that's remaining. Finally, transfer the design to the plywood surface.
At this point, your sign is finished and ready to be hung.
Where to Put Farmhouse Signs
Now that your sign is fully designed, you can hang it up to decorate your farmhouse.
Not sure where to place it? Here are some ideas for you to consider:
- On a kitchen wall
- By the entryway
- In the bathroom
- On a mantel
Since farmhouse style signs usually contain phrases or quotes, you want to make sure that you hang them in the appropriate areas.
For example, a motivational quote would fit in perfectly on your office or work area's wall, while a phrase that signifies the importance of family or home could lighten up your entryway.
Regardless of which quote or phrase you choose, you can rely on our DIY guide to build a custom and high-quality sign for your farmhouse that will allow you to express yourself for many years to come.


Leave a comment
This site is protected by hCaptcha and the hCaptcha Privacy Policy and Terms of Service apply.